Feb 21, 2012

{Because Inquiring Minds Want to Know!}

I have received a lot of questions about some of our projects and what tools and/or advice we would give.  Here’s a list of tips, answers to questions, and product suggestions (or at least what we have used). 

  1. Be patient.  If it doesn’t look right…take it down and try again.
  2. You’re NOT going to “ruin” your house.  We still have to work on this one.  We really don’t want to ruin our house, and sometimes a project scares us just because we may ruin something.  We’ve been pretty lucky, and haven’t had any major problems…but if we do, I think we will get through it (maybe with a little help from a professional if needed).
  3. Be creative!
  4. Go for it…sometimes what scares you the most, will be the most rewarding!
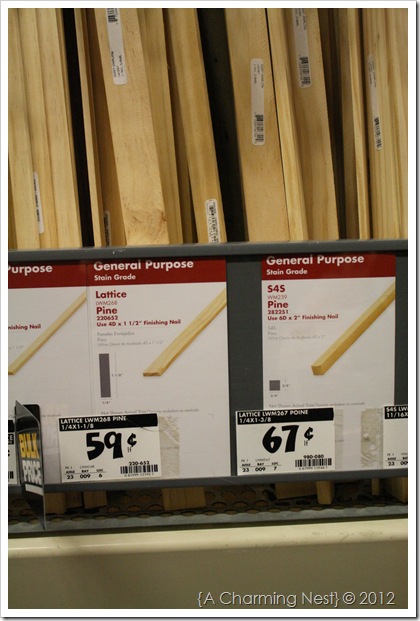
  5. What is lattice? We used lattice on our Rast Hack drawers, to trim out the sides of our Mudroom, and to our Door Casings.  It is a thin (1/4 inch) piece of pine wood that comes in two sizes.  We get ours from Home Depot or Lowes, and it is usually found in the back of the store with the trim, casings, and moldings.  If you can’t find it, just ask someone…and they will help you out!
    IMG_3220
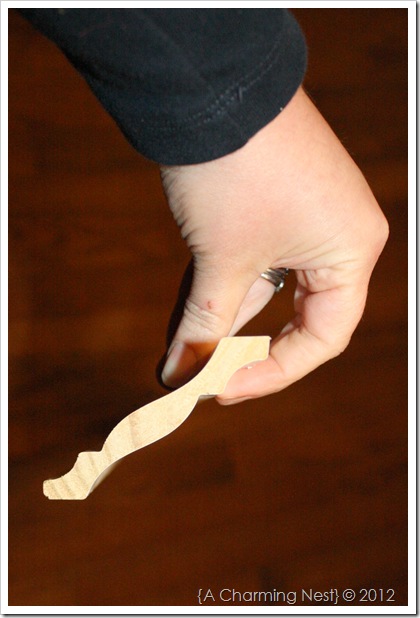
  6. Crown Molding – Product Suggestion:  We found a product this past summer that was a crown molding that was reversible.  This meant you could cut your angled compound miter and then flip the other side for a perfect fit.  We found ours at Lowe’s.  It is called Flip Face, and it is also found in the molding section, as well. IMG_3236
  7. Tips on crown molding.  Justin found a great website to help him set his saw here.
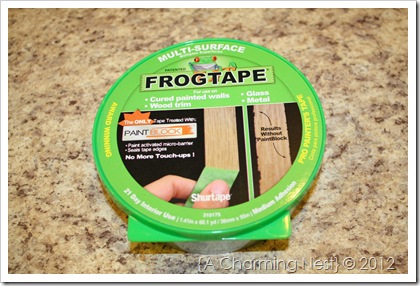
  8. What tape do you use?  Frog Tape…it’s green and perfect in every way.  You can use it on fabric or walls, and you will always have a perfect line.  Skip the blue, and go for green.  Trust me!IMG_3233
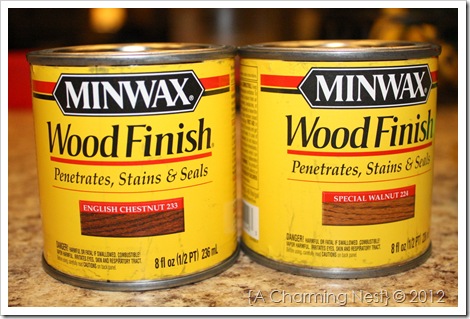
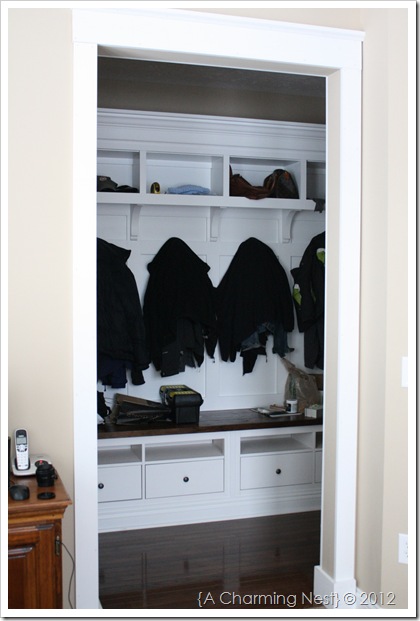
  9. What stain did you use  on the Mudroom Bench?  I mix 1 part (or one small can) of  English Chestnut with 1 part (or one small can) of Special Walnut.  This mix seems to compliment the wood floors and cabinetry in our house.IMG_3234
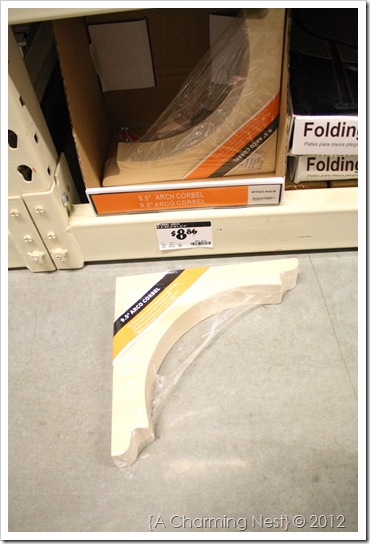
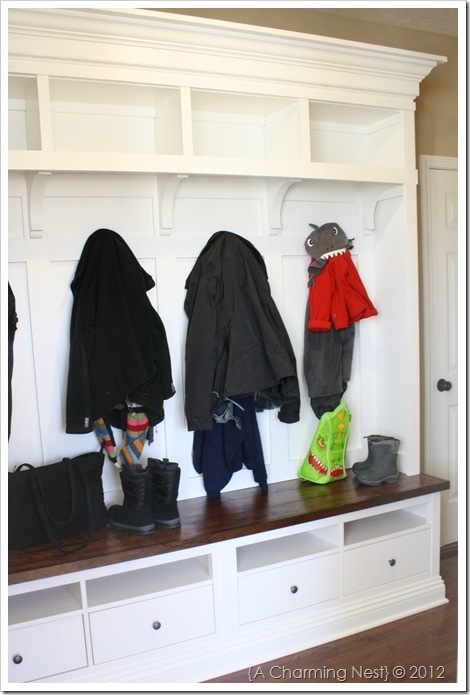
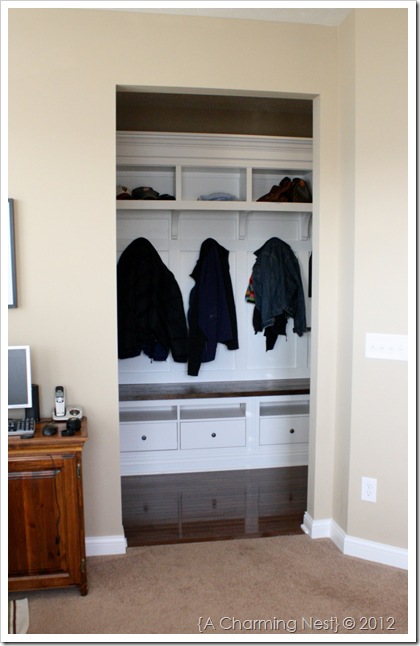
  10. Where did you get the corbels you used on your mudroom?  Home Depot!  They are the best.  Layla used them on her kitchen cabinets at The Lettered Cottage and Young House Love just used them on their open shelving in their newly remodeled kitchen.  And for$8.86…they are must have item when doing a shelving unit of any type…including our mudroom.IMG_3226IMG_2572
  11. How did you paint your mudroom?  We used a roller and a paint brush.  Sprayers scare me.  I’ve heard they can be finicky and can clog.  Our favorite paint brushes are Purdy.  We ALWAYS add Floetrol (for latex paint) to our paint to extend drying time and which alleviates streaks and brush marks!
  12. Tools We Can’t Live Without
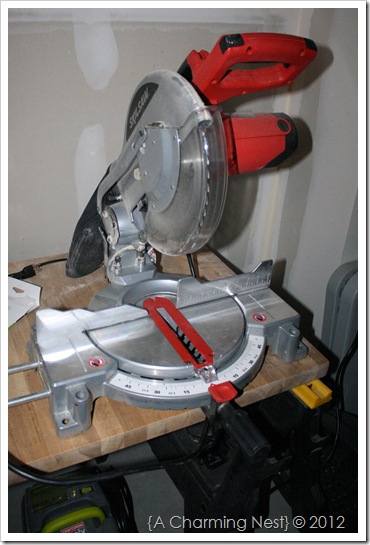
    1. Skil Saw Compound Miter: We got ours from Lowe’s.  (Christmas gift from my mom.)  It was about $70.IMG_3229
    2. Evolve Nail Gun and Compressor:  We got ours from Sears.  It is a Craftsman Evolve and was about $80 for the compressor and gun.IMG_3230
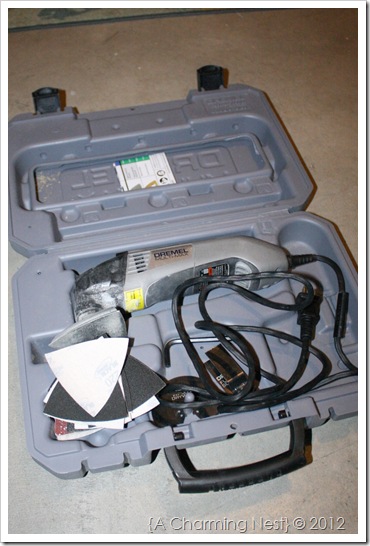
    3. Dremel MultiMax:  This is a great, multiuse tool.  Justin cut all of our baseboards when doing the casings with this tool.  The Dremel was about $90.IMG_3232
  13. Is your header new?  Did you use Picnik?  What are you going to do when it’s gone?  Yes, I change my header all of the time.  I think I finally have it the way I want it.  I used Picnik and Picasa together.  I have no idea what I’m going to use when Picnik goes bye-bye…but I will probably shed a tear or two.

Quick Header Tutorial:
-First, I make sure my pic is the right width is pixels.  My blog calls for a 1050 pixels heading picture for it to fit centered.
-Then, I used the shapes for the borders.
-Then I added text.  When I find a color I like, I write the number down so I can use it in blogger for my titles, links, and widgets.

Collages26-2

I hope I answered some of your questions!  If I haven’t answered a question, shoot me an email at acharmingnest@gmail.com!  I will try to get back to you as soon as possible!


Feb 15, 2012

{This is progress…}

I’ve got nothing.  No deep thoughts.  No inspirational quotes.  No fun little tidbits.  But, I can tell you, I’ve been busy.  It’s been a little crazy around here, and I can honestly say that one word that comes to my mind the most is “overwhelmed.”  Most of my pressures seem to come from school…school as in “my job” and school as in “me as student” and school as in “the college class I am attempting to teach.”  I’ve got a paper about “unequal childhoods” due this Friday and lessons to write and develop for the college class that I’m teaching about “finding your inner motivation”. 

Some days I feel as though I’m Dorothy in the Wizard of Oz perpetually stuck in the spin of the tornado whirling through life.  I tell myself that “I must slow down.”  I want to slow down.  I must learn the magic word…no.  I’ve heard that it’s a pretty mighty word.  And may I ask…then why is that word so hard to say? 

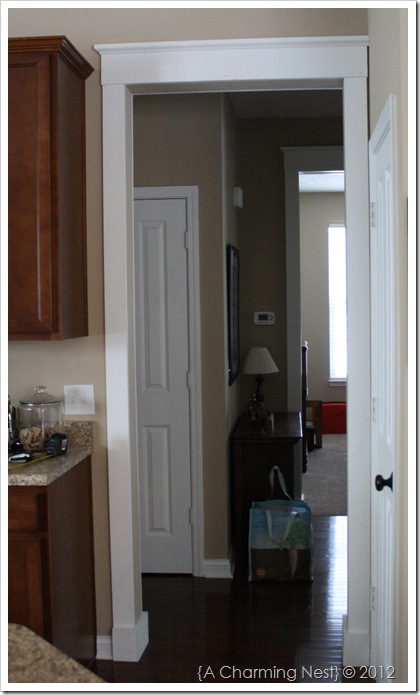
We do have some progress to share with all of you!  And I’m so excited!  We have added door casings to two entry ways in our house.  One leads into “The Kid’s” play room (our morning room) and the other leads into our kitchen.

Here are some before pictures…

IMG_2980

IMG_2991

And here they are with the added casings…

IMG_3170

IMG_3175

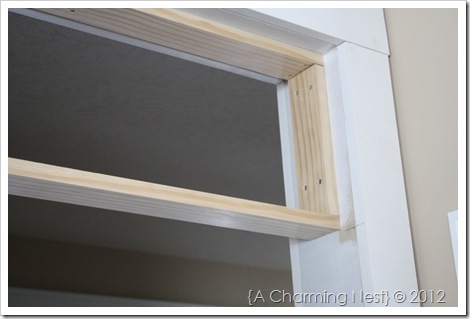
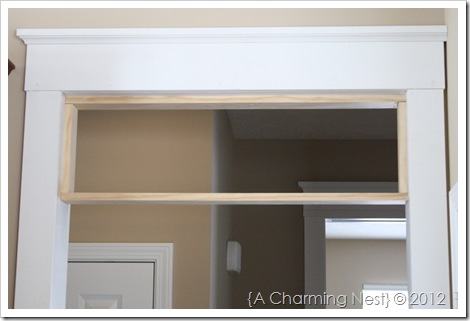
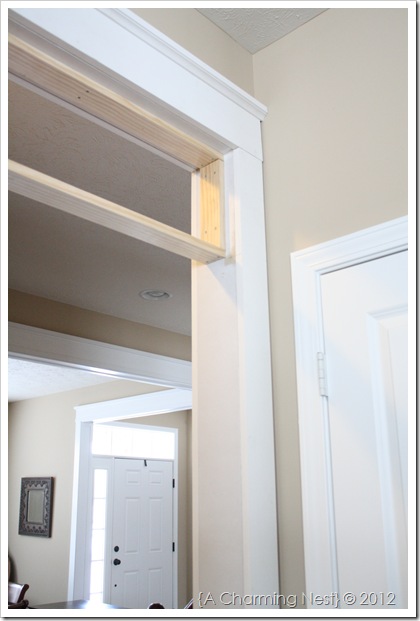
Then we got to thinking that we could add non-moving transom windows.  They are high entries, so it seemed like a pretty good idea.  So, we went with it.

Before we added the lattice around the edges, as described in this post, we built a rectangle with 1x3’s…

IMG_3179

IMG_3181

IMG_3187

IMG_3188

Now, our glass is on order and we’re playing the waiting game.  More is coming soon…I promise, but we are loving the way this looks even without the glass.  Sometimes it’s the little things that make us swoon…and for me, it’s this.

The inspiration?  Edie at Life in Grace blog…it’s one of my favorite blogs.  She is so smart.  So interesting.  So smart.  So creative.  So honest.  So real.  Did I say she was smart?  She’s inspirational…losing it all, then finding even more, all while keeping her grace.  She recently did a post about “Shame” and “Grace for the good girl.”  It’s deep.  Smart.  And it spoke to me.

On more superficial topics…her kitchen…is to die for.  Breathtaking.  Not to mention, our inspiration for transom windows.  Look closely in the back, at those two entries.   See what I see?  They have windows!

Love.

Source: 31 Days|Day 29 The Kitchen, her highness

Her kitchen is the queen.  And I love everything about it.  Thank you, Edie.  Thank you, for giving me inspiration to be me, to keep writing (even if you all are silently correcting my grammar), to keep sharing…and for allowing me to enjoy your grace.

Feb 5, 2012

{…because sometimes a girl just needs a cookie.}

I’ve been eating gluten and dairy free for about one month now.  I’ve been pretty strict about it, too.  I have seen some pretty dramatic changes in how I feel and in my skin…and I couldn’t be more pleased. 

A few things that have helped me eliminate these two very common ingredients from my diet:

1.) So Delicious Original Coconut Milk Coffee Creamer

IMG_3153

It’s creamy.  It’s delicious.  I don’t miss my 2% milk.  The only time I really drank milk was in my coffee.  Now I can substitute this and I don’t miss a thing.

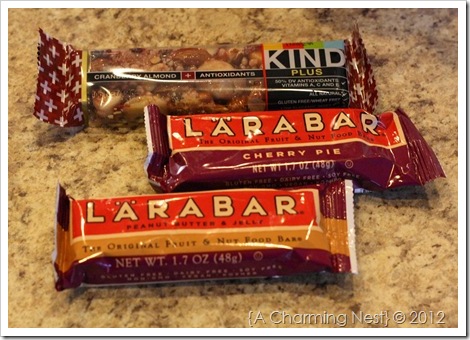
2.) LaraBar (Cherry Pie and Peanut Butter + Jelly) and Kind Bars

IMG_3160

Thank goodness for these energy packed bars.  I usually don’t have time to eat breakfast in the mornings…I’m usually out the door by 6:30 a.m.  So, these are perfect for “passing period” snacks…along with a banana, in the morning at school.

3.) Lots of fruits and veggies. 

4.) Trader Joes.  Their products are well marked, and they have a variety of items.  So far, I love the beef tamales!

5.) Brown rice.  It’s good with all sorts of veggies and meat…I love it.

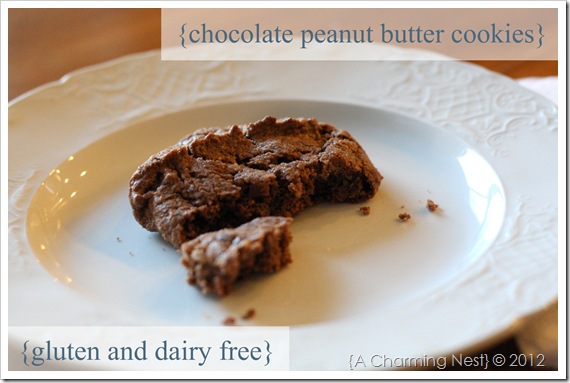
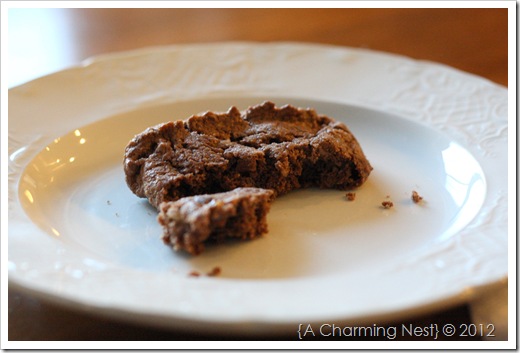
6.) And once in a while, because sometimes a girl just needs a cookie…I make these:

Peanut Butter Chocolate Gluten/Dairy Free Cookies

IMG_3169-1

Recipe:

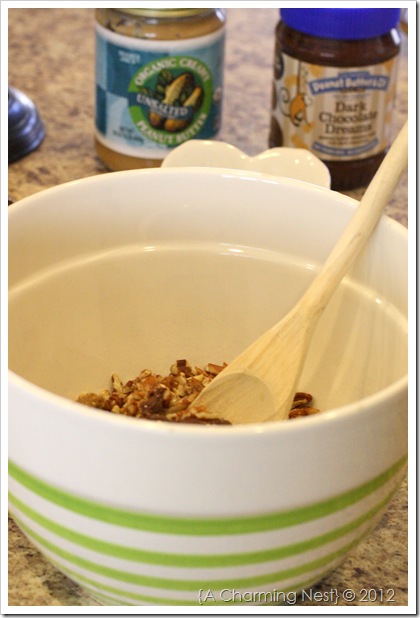
2/3 Cup Chocolate Peanut Butter (I used Peanut Butter and Co. Dark Chocolate Dreams.)
1/3 Cup Peanut Butter
1/3 Cup Brown Sugar
2/3 Cup White Sugar
1/2 Cup Chopped Pecans
1 teaspoon Baking Powder
1 Egg

IMG_3146
Preheat oven to 350 degrees.  Mix all ingredients together and place in fridge for about 10 minutes to allow batter to stiffen up a bit.

IMG_3134

Using a teaspoon place small cookie batter portions on an ungreased cookie sheet.

Bake for about 10-13 minutes. Batter should make about one dozen cookies…but that depends on the size of your cookies.  Larger cookies take about 14 minutes, smaller cookies take 10 minutes to bake.

Cookies will be soft to the touch when coming out of the oven.  Let cool for about 5-10 minutes before transferring them a plate.  Enjoy!

IMG_3167

My recipe was altered a bit from Gluten Free Girl and The Chef…but the inspiration for this cookie came from them.

Now, it’s time to watch the SUPER BOWL!  Indianapolis has put on quite a show!