Nov 26, 2011

{Happy Thanksgiving to You and Yours}

Thanksgiving is my favorite holiday.  It’s my favorite meal. And quite honestly, it’s my favorite day.  It’s a day where family togetherness and tradition are the expectation…and I love that about this holiday. 

turkey2nutroll

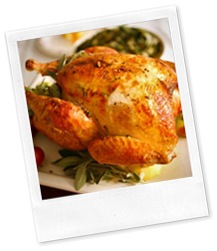
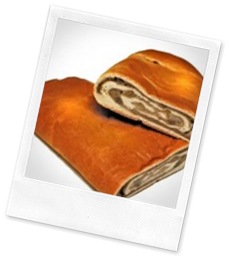
I hosted my in-laws this year and we had a marvelous feast!  Turkey, my mother’s dressing, green bean casserole, sweet potato casserole, yeast rolls, and of course a 7 layer salad all were present for the party!  I attempted nut roll, which was always made by GiGi Esther (Justin’s grandma) who recently passed away.  It turned out…okay.  I need to practice.  We also had pies that my sister-in-law made, which were delish.

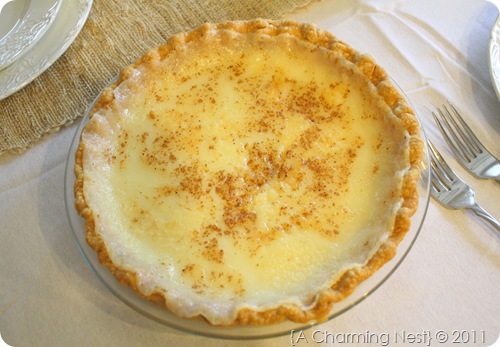
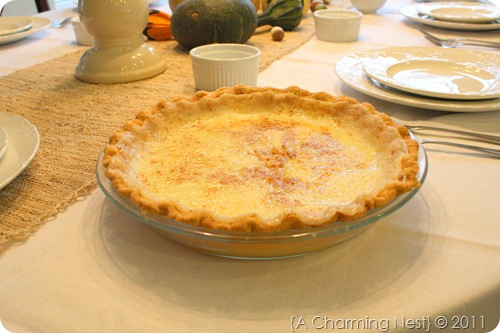
I made a pie as well.  My grandmother Sara used to make the best chocolate chip cookies and a Sugar Cream Pie.

Let me tell you…her pie is really good.  My mom has taken over the tradition of making this pie, and she has done a fabulous job.  This year was the first year I have attempted to make it, and I have to say…it was pretty easy and turned out just like I remembered.

Sara’s Sugar Cream Pie

Preheat your oven to 375 degrees.
Prepare pie dough and lay in pie pan.  Crimp the edges.  (I used Pillsbury pie dough.)

In a medium sauce pan mix:
1 Cup of Sugar + 1/4 Cup Flour + 1 TBSP Flour (mix dry ingredients with a spoon)
To this dry mixture add:
1 Cup of Half and Half (mix)
then 1 Cup of Heavy Whipping Cream (mix)

Heat until it is warmed.  It will seem almost like milk at this point, and will not resemble a custard at all.

Pour mixture into the pie crust.

Dot with 6-8 dots of butter and sprinkle with ground nutmeg.

Bake the pie in a 375 degree preheated oven for 10 minutes.
Turn down your oven to 350 degrees, and bake for 20 minutes.
Turn down your oven again to 325 degrees, and bake for 15 minutes.

Let cool and enjoy!  The filling should be a creamy white custard, that sets after it cools.  It shouldn’t run on the plate.


I don’t have any pictures of a slice, because quite honestly, it just didn’t last that long! 

 IMG_2324

IMG_2332
            I hope you all had 
 
                                                    a
very

             happy thanksgiving.
Nov 20, 2011

{A Half Bath Makeover}

We just finished the half bath makeover I talked about in this post…just in time for our Thanksgiving guests and increased bathroom traffic.  

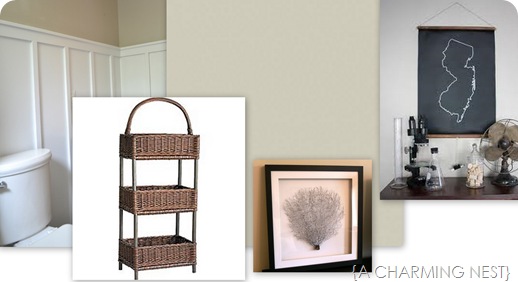
We started with this mood board…
mood board half bath

…and this very basic builder basic bathroom (nice, but just not cutting it)…bathroom
I’m sorry that I don’t have more pictures of our half bath before.  It really wasn’t anything to photograph…it was pretty boring.

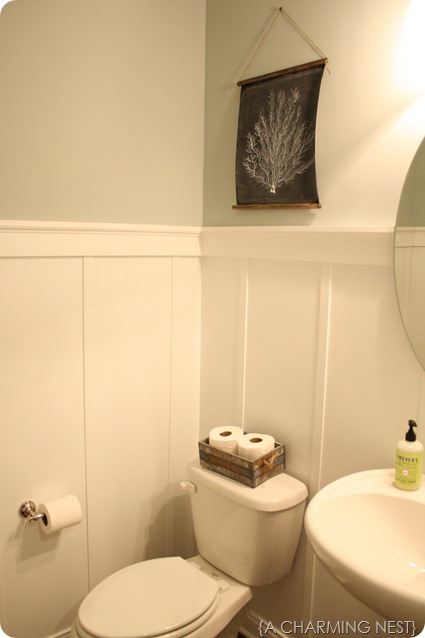
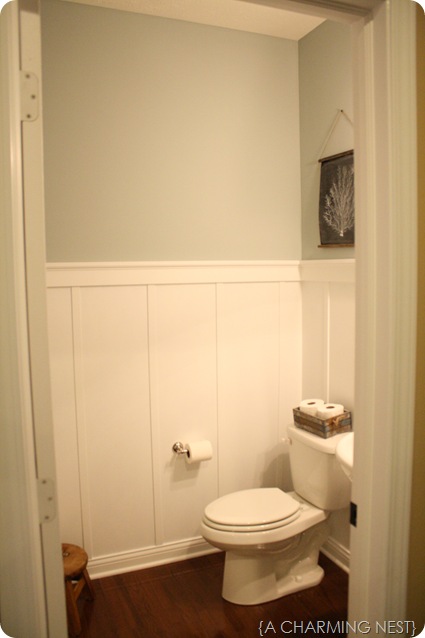
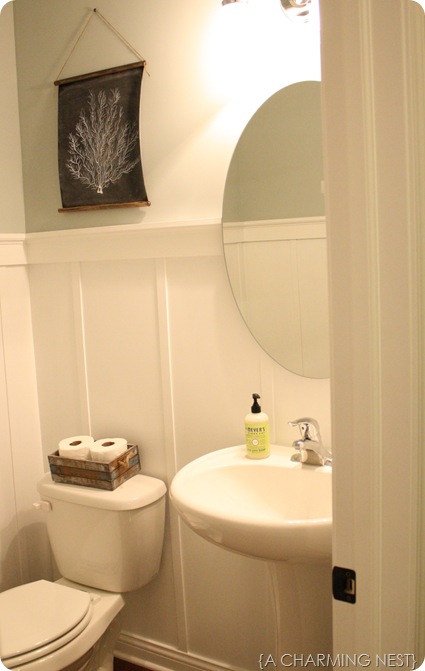
But, now…we have this!
IMG_2293
The board and batten is painted in the Sherwin Williams Extra White that our builder used for the rest of the trim in the house.  It is a semi-gloss so it’s easily wipe-able and cleanable, which is awesome because before we painted we would get water spots on the flat paint they used for the room from hand washing (and I have to admit a few sprinkles of pee-pee from a 3 year old who isn’t tall enough to aim in the toilet every single time).

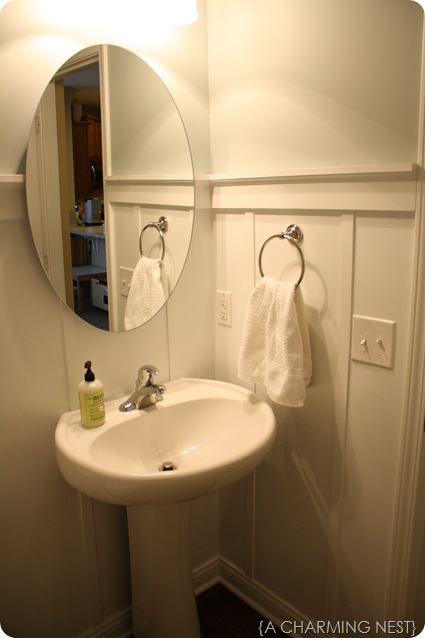
The top ledge of the board and batten is mdf in a 1x2 (laying on its side to make the ledge) with a 1x4 up against the wall (under the ledge).  Then we added cove molding under the 1x2, which makes it look more like molding, rather than just two pieces of wood nailed to the wall.
  IMG_2288
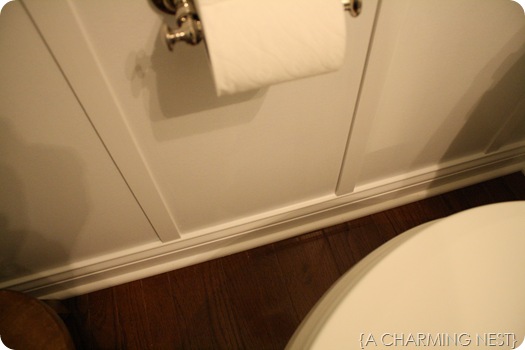
We used lattice for the vertical battens. We went with this option because the top of the base molding is kind of narrow and we didn’t want the battens to hang over.
IMG_2285
Notice the non-overhanging goodness?  That makes me really happy.

The pictures really don’t do the paint color justice...it’s hard photographing a space with very little natural light (unfortunately, there are no windows in this little space). 

The paint is Beach Glass (Classic Colors #1564) by Benjamin Moore (their Ben paint line, which is their cheapest).  It’s a misty green/blue, and changes colors during the day.  Sometimes I look at it and it looks really green, while other times it looks really blue. 

I love it!

(This swatch probably looks a little differently depending on the computer monitor, so go check it out at a store that sells Ben Moore paint.)

I have to admit we are first time BM paint users and loved it!  It covered really well and was easy to use.  We are believers in BM paint now.
IMG_2294
IMG_2296
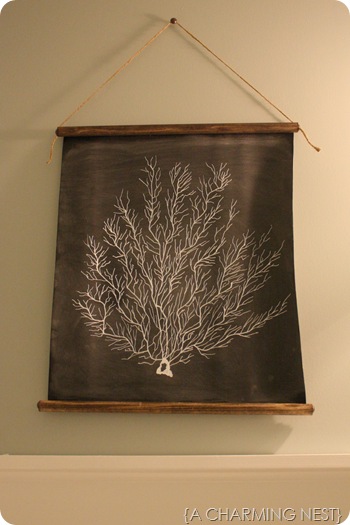
The art is a Pinterest inspiration.  I found and pinned this awesome photo of a New Jersey state map on a chalkboard. 


Which inspired this...
IMG_2292

The art was easy-peasy…I used a white paint pen, chalkboard fabric, stained dowel rods, jute twine, and upholstery tacks.  While looking at a sea fan on my computer screen, I just drew it with the white paint pen onto the chalkboard fabric.  Then I stained the dowel rods, and stapled the fabric to the back of the rods.  Using upholstery tacks on the ends, I tied the jute twine to them to hang.  I hung it using the same upholstery tack pushed into the wall.

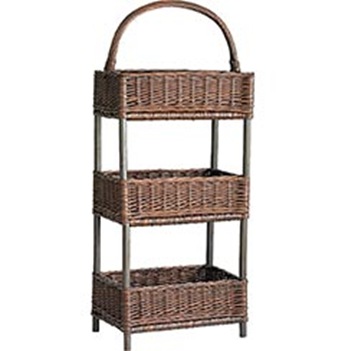
I still need to purchase this basket tower from Pier One…
basket

And there you have it folks.  Our new and improved half bath!  I have to say I think it’s the best looking room in the house.

And I’m happy to report that our door casings (which we have dubbed the never ending project) are almost done!


Nov 5, 2011

{Lazy Saturday}

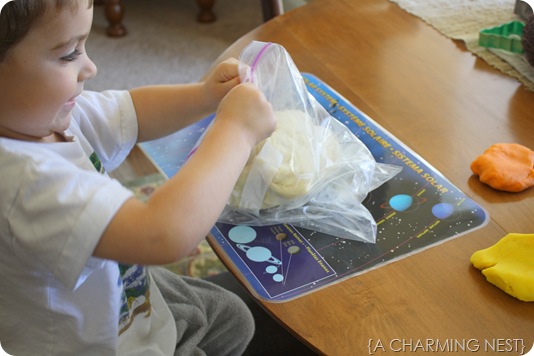
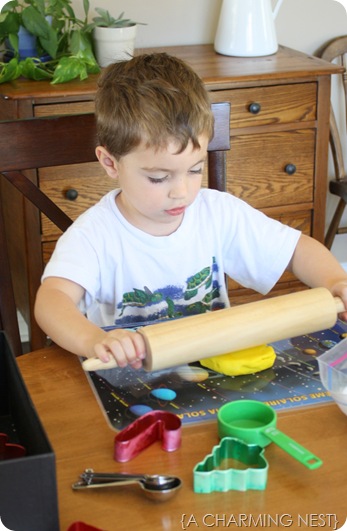
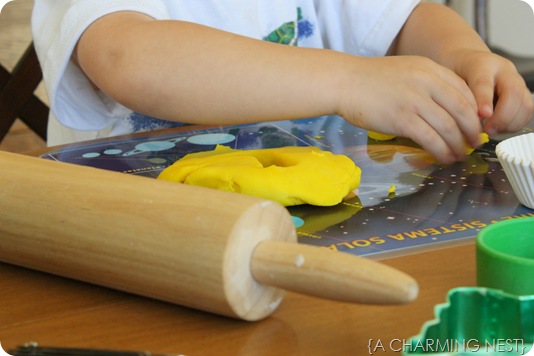
As Justin is putting the finishing touches on our new door casings (which look awesome),  I thought it would be fun (and necessary) to keep The Kid busy!  He got two small containers of Play-Doh from his Trick or Treating…but they had been mixed, dried out and ruined as the week progressed.  So?  Let’s make our own! 

Homemade Play Dough is the best…easy, cheap, and just like the real stuff.  My mom made it for us when we were kids and I loved it just as much as the real thing.

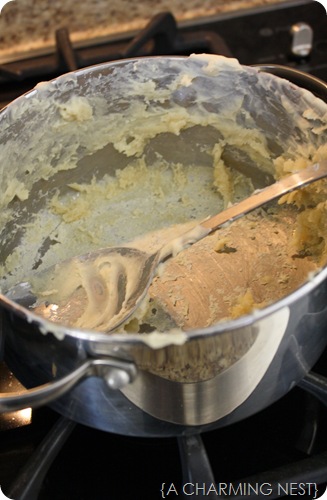
The recipe: 4 cups water, 4 cups flour, 1 cup salt, 2 tablespoons cooking oil, 4 teaspoons cream of tartar, food coloring. Combine ingredients. Cook in a big pot, stirring constantly, until most of the moisture is absorbed.

Store in a covered container or Ziploc – and it does NOT need to be refrigerated, just sealed TIGHTLY.  Add a couple of drops of baby oil to keep it soft.

Perfect for those lazy Saturdays when you just want to keep everyone busy and happy! And possibly a rainbow of colors will be perfect stocking stuffers placed in little ziplock containers.

IMG_2182

IMG_2193

IMG_2218

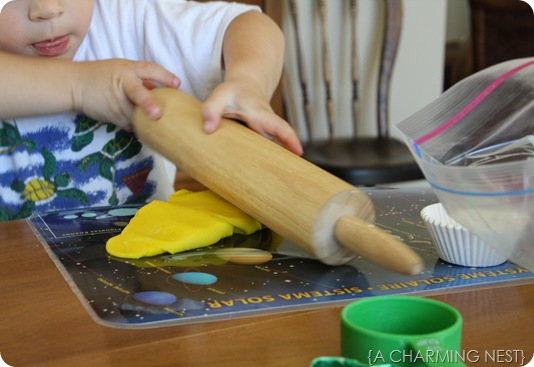
Keeping little hands busy…

IMG_2215

And now the pot…

IMG_2191

Nov 2, 2011

{Fall Décor: Part 2}

Fall is in full swing and after a whirl wind of an October…I welcome November.  Justin and I have always felt so grateful for the family, friends, our health, and the time to enjoy them.  My mother gave us a blessings plate when we got married that reads…

“Health, Love, and Wealth…and Time to Enjoy Them.” 

…and as I think more about that quote, I find that I am reflective on how truly blessed I am to have all three of those, even in the smallest increments.  Together as a family we make the best of our time together.  We try to make best of our wealth.  And we certainly do not take our good health for granted.

Personally, I feel I am most thankful for my family and for being here, in this place, together.  I know in my heart of hearts that this is where I am supposed to be, and I am so happy for that.

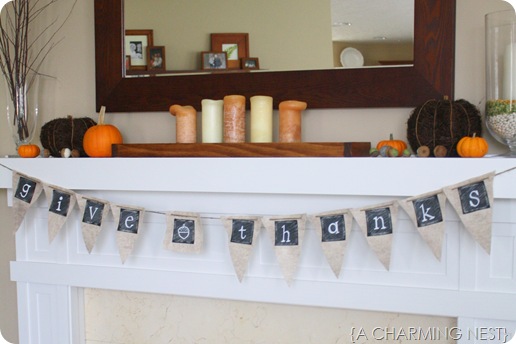
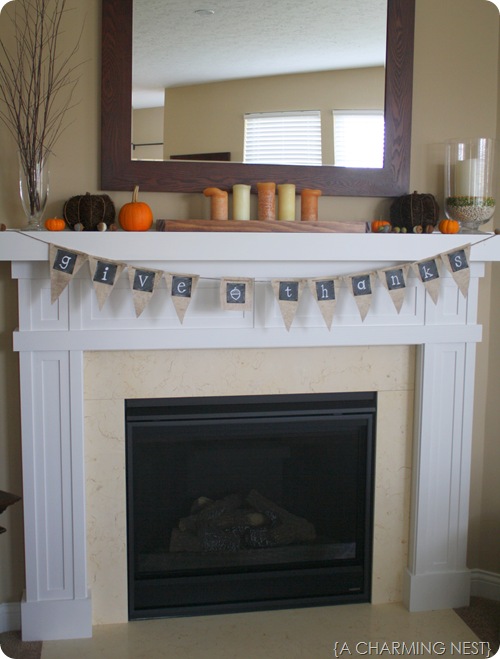
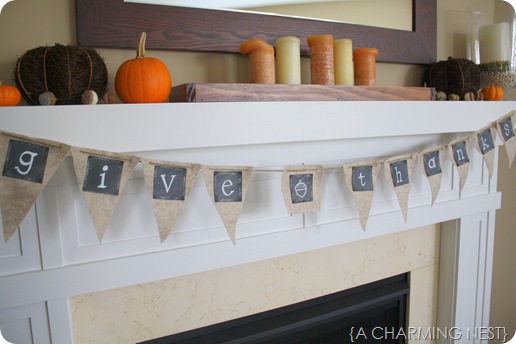
To remind our family to “Give Thanks” I’m changing some of our mantle décor to represent how thankful we all are of the lovely life we are living together by including this…

IMG_2172

What you’ll need to make it:
Chalkboard fabric (cut into squares)
Felt (of any color)
Twine
Chalk
White Paint Pen
Sewing Machine (zigzag stitch)

I do have a new obsession with chalkboard fabric…which was used on the flags. 

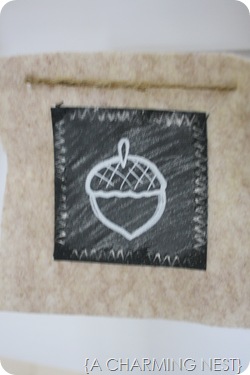
Each flag was cut from an oatmeal hued felt fabric, then I sewed the chalkboard fabric squares onto each using a zigzag stitch.  With a white paint pen I wrote each letter and a center one with an acorn. 

IMG_2173

Once the paint dried, I then scribbled white chalk all over the squares and buffed with a paper towel to give it a used chalkboard look.  I slit holes in the upper corners of the flags and stung the twine through to hang on the mantle.

IMG_2175

IMG_2174

So in the spirit of November, and preparing for Thanksgiving, I ask…What are you thankful for? 

Nov 1, 2011

{Fall Décor: Part 1}

Acorns.  I love acorns. 


The kid and I went on a hike the other day and we found all sorts of “nature” including cute little acorn caps.  Surely, I could make something out of these…right?

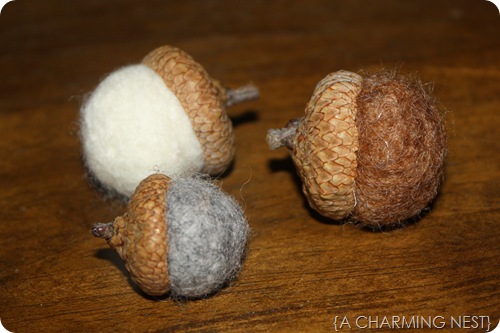
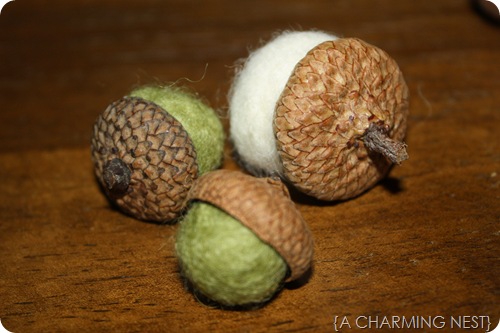
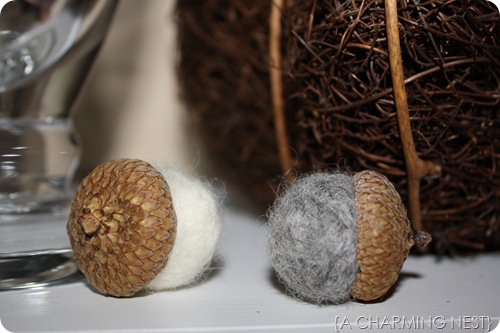
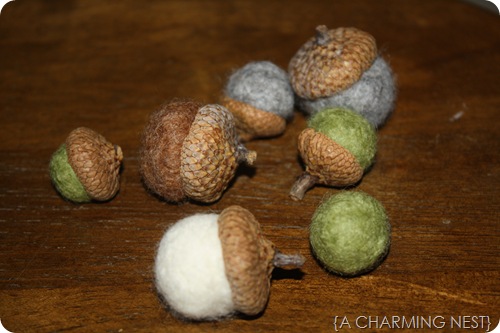
So, I collected a whole bunch and after a couple of days of thinking, and searching online…I  thought I would try a new craft…wool felting.  I thought they would be kind of cute to make little wool roved acorns to scatter on our mantle or on a table for the holidays…or make cute little napkin rings.  A perfect fall decoration…

What you’ll need:
Acorn tops
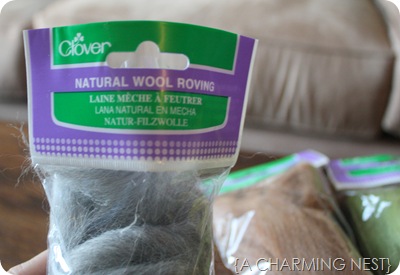
Wool Roving (I got mine at JoAnn’s, but you’ll have to shop around.  I’ve seen it online, too!)

IMG_2112
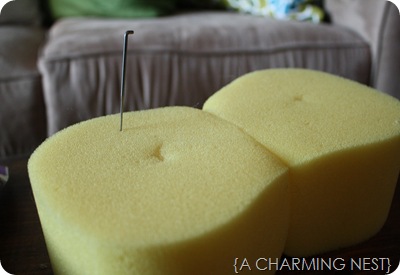
A Wool Roving Needle
A sponge
IMG_2113
Hot water and soap

Using this video as instructions…I think I made some really cute and festive little wool acorns for my fall décor. 

IMG_2092

IMG_2091

IMG_2094

IMG_2088

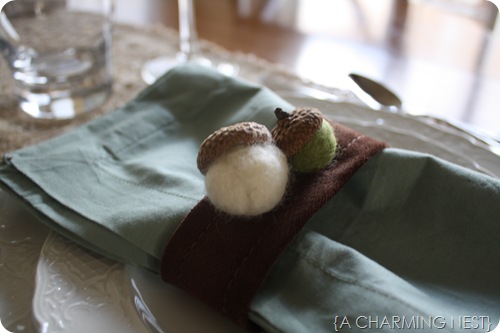
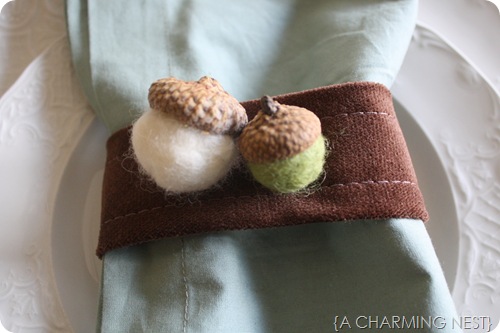
I also picked up some fine wale corduroy from JoAnn’s when they were having a HUGE sale.  I folded a piece of fabric together and sewed a hem on either side.  Then sewed the ends together to make a napkin ring.  Using a needle and thread I sewed the acorns to the ring…making my very own and original acorn napkin rings for our Thanksgiving table.

IMG_2167IMG_2164

For those of you who are interested in growing your own oak tree, I found this great website that gives you instructions on how to grow an Oak from an acorn and general Oak tree advice and information.

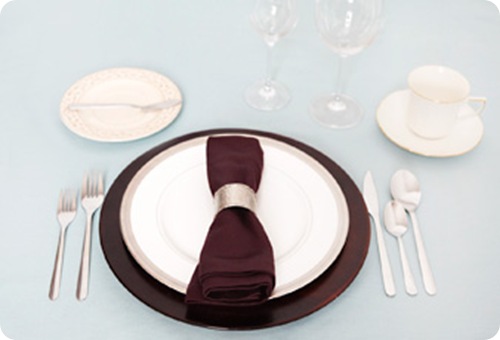
Also, you might be interested on how to set a table.  I found this easy to follow website on how to make your dinner table more beautiful by properly placing the dishes, plates, glasses, and napkins.

properly-set-your-table-medium

Source: website

And on this first day of November, I am reflective on so many things and am so thankful for my family.  My husband’s family has been through a lot in the recent weeks, and through hardships and loss we realize the importance of family, friends, love, laughter, and the time to enjoy them all.