Sep 29, 2011

{Decorating for Fall}

To be quite honest, decorating for the seasons, or for the holidays, isn’t really my thing.  I have a hard time visualizing what I want, I hate spending the money for stuff I won’t use all year, and I always have a hard time getting motivated to change little things here and there just because the weather has changed a bit.  But I usually follow along, and do “something” to decorate.  I definitely like things that take our decor to Halloween and then to Thanksgiving…that way I don’t have to really think about changing things up until December.

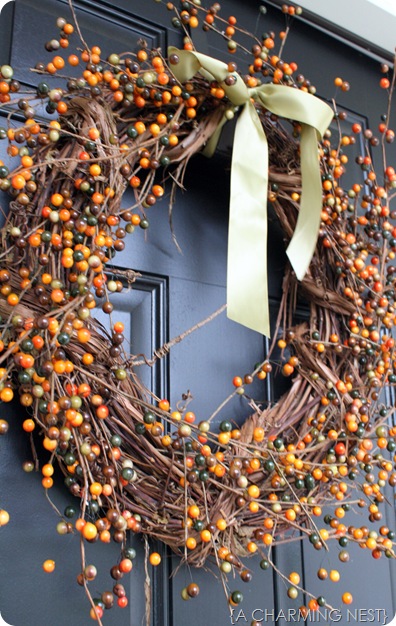
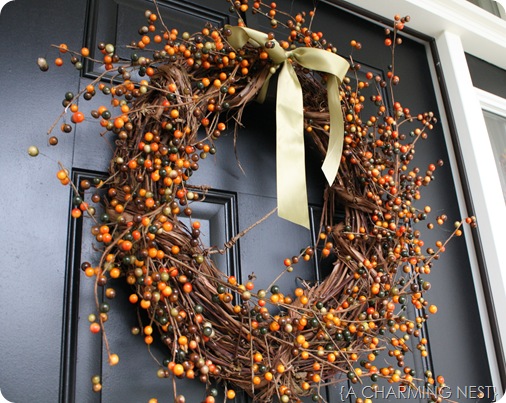
This year, I decided to make my own wreath, well sort of.  I  bought a grapevine wreath at Michael’s for $4.99, but since I had a 40% off coupon I got it for $2.99.  Then I bought 12 berries on stems that were on sale for 50% off (each for $.99).  Then I just stuck the stems into the grapevine wreath, clipped the ends off and tucked into the wreath to hide their cut ends, and then tied a bow.  It was easy peasy and I only spent $15!  I know it’s not very fancy, and I didn’t use a new or fancy trick to make it, but I’m okay with that fact.  It’s just a simple and easy wreath for fall, and that’s just what our door and I needed.

IMG_1870

IMG_1871

Now, if I really get motivated and get the time, I may try my hand at making one (or a few)of these beauties for a special place (or places) inside our home…

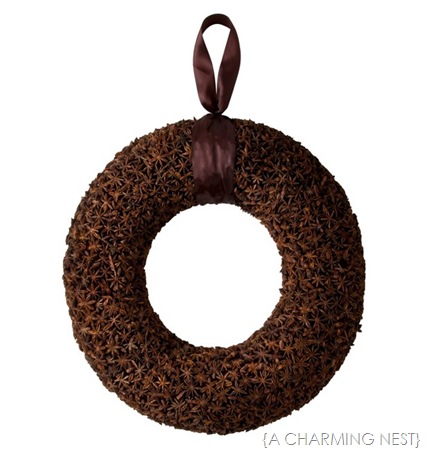
star anise wreath


I spied it the other day at Target for $40.  It’s made from star anise whole spices.  I checked it out, and it looks like the foam was spray painted brown, and then these little stars were just glued all around it.  I do love the way this looks!  The best part…it smelled divine!  Tie this with a red or blue ribbon, and it not only looks great for fall, but it would be great for winter!  I was thinking that a smaller version of this wreath would look great hanging on the inside of all of my windows.  I may be ordering some star anise in bulk very soon!

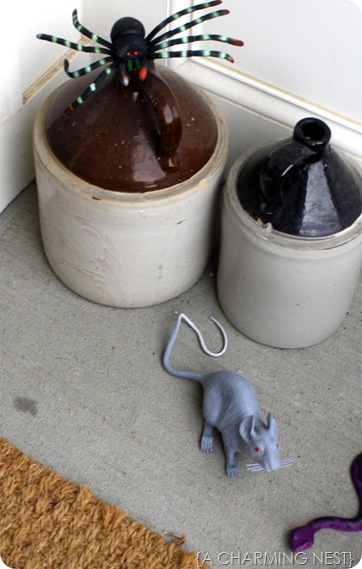
Then there is the “The Kid!”  I was excited to get him geared up for Trick or Treating!  So, I picked up a couple little plastic spooky animals from the dollar bin at Target to place around our stoop.  The purple snake took Justin’s breath away the other day when he was out working in the yard…and for that, folks…it was worth every penny!

IMG_1869

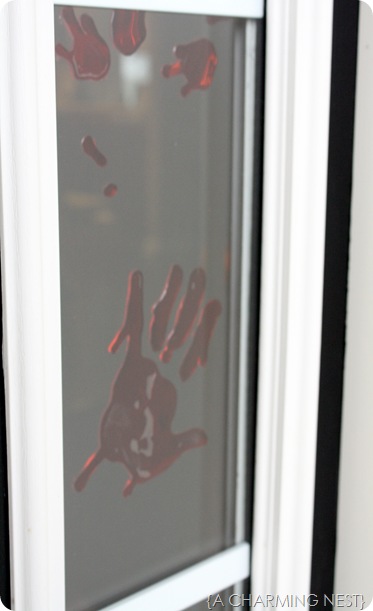
These gross little jelly clingy thingies were also found at Target in the dollar bin.  I thought they were kind of funny, but kind of gross…so I bought them ($1 for a package).  We got eyeballs, pumpkins, and these little “bloody” handprints.  IMG_1867
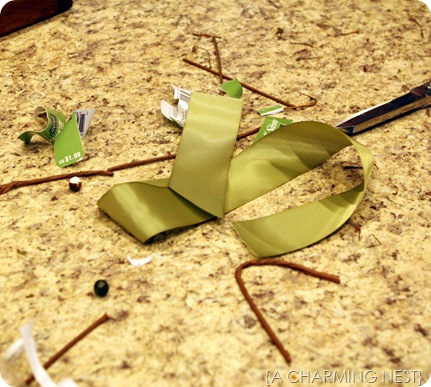
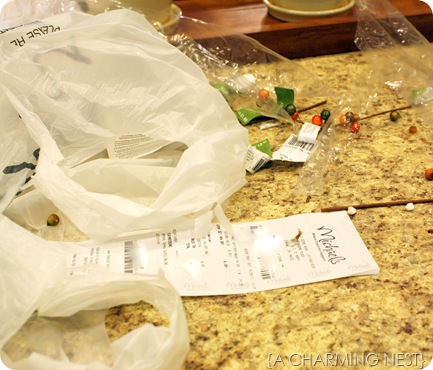
Well, I’ve had enough of fall decorating…and now it’s time to clean up what I’m left with…a fall decorating mess.

IMG_1874

IMG_1877

Happy Fall Y’all!

Sep 28, 2011

{This is a test!}

I am so excited to be using Windows Live Writer for the first time!

charming

I used Censational Girl’s tutorial and information about using Windows Live Writer…and with some updates installed to my computer, I finally have it up and running.  This is amazing!  It is just like using Microsoft Word…but it has one easy button to publish to my blog.  Uploading pictures is…so EASY!  Hyperlinking to other blogs…so EASY!  Automatic spell checker, it’s just like Word…so EASY!  Watermarks on photos…so EASY!  This will make posting…so EASY!

You can even embed your Pinterest pictures by using the HTML code!  It really couldn’t be easier!


It allows for easy editing, previewing, and then you can look at the HTML codes if you click on the source tab…AMAZING!

If you are a blogger…please head on over to the Censational Girl’s blog to see her write up about Windows Live Writer…you will be so happy that you did!

I know I am!

Sep 25, 2011

{Gorgeous Inspiration via Pinterest}

I have collected several images that make my heart go pitter-patter on Pinterest.  Inspiration is so easy to find, especially when you find all kinds of beauty on the virtual pin board...which is my new favorite social network.  Here's a little slice of what photos I've used to inspire some of my projects, including what worked and what didn't work!

I made these flowers, following Not Martha's tutorial...but they turned out terribly.  My glue wouldn't stick and all the petals fell off.  Does anyone know of a really strong fabric glue?


I totally rocked these...and they look awesome!  I made my "spirals" thinner to make a flat flower for a pin to wear on my jean jacket and cardigan.  I layered the felt with a spiral of drop cloth fabric, and it looks great.  I will post pics of my flowers soon!


I actually made this dress, with real fabric, real thread, and a real sewing machine!   I couldn't believe it!  It's the first piece of clothing I have ever made!  Well, I did alter it a bit and made it a skirt instead of a dress!  My version is gray...and I love it!  I will post about that soon! (I made two...one with the elastic band covered in fabric and the other with the elastic band showing.  I love them both!)


Quotes are everywhere, and here are a few of my favorites.  I know I will be adding these to my home somewhere, someday!


Isn't this what it's really all about?


I recently got my haircut...using Pinterest.  I showed my hairdresser a few of these...


...and ended up with the best haircut of my life!

Inspiration for clothing is everywhere, as well!  It helps those of us who are confessed fashion challenged people.  I have no idea what looks good on me, what is in style, or what I should wear.  When I find something I like, I will buy one in every color.  I've purchased every color of the Gap's Perfect T-shirt (gray, black, navy, and white).  Speaking of color, I like black, black, and black, with a little color in the form of gray, denim, and khaki.  I know...boring, right?  Someone actually asked me at work if I was feeling okay because I was wearing a color other than black one day.  I didn't really feel like going into the real reasons I wear black, and just laughed it off.  I have some body issues, and wearing black makes me feel better.  Whether or not I actually look better...well, I know that depends on the item.

I do love these combinations...


It looks as though I may invest in a pair of brown riding boots...I think that's what they are called.

What is inspiring you on Pinterest?  So much to do and to try...but so little time!

Sep 19, 2011

{The Best Darn Tacos...Seriously}

Are you ready for this? 


No, I'm serious...these are the best darn tacos you will ever have, and they are SUPER EASY.  I'm NOT kidding.  They are so simple, yet so flavorful.  These are definitely a crowd pleaser, as everyone seems to love them.  This is a "stolen" recipe from my mother-in-law so I can't take credit for them, but we have modified it a bit to fit our tastes.  As we all start this busy week...I thought an easy crock pot meal might just be what we needed!

Ingredients:
  • 3-4 lbs. of boneless pork tenderloin (trim the fat...we like it lean around here.) or use 3-4 lbs. boneless, skinless chicken breast
  • 1 1/2 Jars of Salsa (we use hot, but you can choose your spiciness)
  • 1 packet of taco seasoning
  • 1 can of chipotle peppers in adobo sauce (this was added by us)
Trim the fat off the meat and cut up the pork tenderloin into about 4 sections for even cooking (if using chicken, just place the chicken breasts in the crock pot).  Place the meat in a crock pot.  Pour the taco seasoning, chipotle peppers, and salsa over the pork (in that order).  Turn your crock pot on high and let it cook for about 6-8 hours.  Use a fork to shred the meat once it's tender.

Serve over tortillas.  We like the whole wheat kind. 

Garnish any way you like...more salsa, lettuce, chopped tomato, shredded cheese, sour cream...and our favorite; black beans!


This recipe makes a TON!  Actually, I'm not even sure how many servings of pulled tacos this makes, but it freezes well, so no wasting!

Oh...and for all you "lower carb" people (which I need to be), this is awesome on just lettuce as a taco salad, too!

Hope you all enjoy and have a great week!

Sep 13, 2011

{New Bedside Tables...they're a RAST hack}


Do you want to turn this...                                     into this?


Rast dressers from IKEA are pretty boring on their own (no offense, IKEA, you know I heart you), but I have seen IKEA's Rast pine dresser transformed into fabulous end tables out there in the blogosphere!

Look what Lindsay and Aubrey did to their Rast for their bedroom.  Absolutely divine...I love the mix of wood and paint. 

Why don't my pictures turn out like this?

I love what Hodge Podge did to reinvent their Rast.  Very cool and chic with silver and black.


RAST dressers are solid wood, and seem to be pretty sturdy...which is a plus in my book.  I thought the drawers operated pretty smoothly as well...and at $34.99 they were cheap in our price range. 

Using the photos above as our inspiration, my goal was to transform these boring, and kind of ugly dressers into something fabulous for our bedroom. Justin and I really needed end tables for our bedroom. We have been using some that I had picked up at Walmart for several years, and although they fulfill the purpose of holding the alarm clocks, glasses, books and shelter magazines, we needed more storage.

What you'll need: Rast dresser from IKEA, nail gun, wood puddy, stain of your choice, poly, 6 pulls (or 12 if you want to keep the original holes), paint of your choice

Lumber you'll need:
2 (1x4) cut to the width of the dresser
1 (1x6) cut to the width of the dresser
lattice (about 40 feet)
1 (1x2) or firring strip cut to the width of the space under the third drawer

Using 1 piece of lattice and an extra piece of 1x2 lumber we built up the bottom, so there would be a place to attach the base molding to the bottom...

Add the base molding.  You could use anything here...if you don't like miter cuts, then use 1x4's...

We bought about 40 feet of lattice and trimmed out both sides and drawers with it.  We LOVE the way this turned out...
Use wood puddy to fill your nail holes.

For the top, we essentially just made a tray (check out the {LittleTrays} post) using two pieces of pre-stained (1/2 English Chestnut and 1/2 Special Walnut) 1x4's and one piece of 1x6 cut to the width of the dresser.  We nailed those cut pieces to the top side-by-side, and then trimmed the edges with pre-stained lattice...

Paint the rest of the dresser...we used a mixture of SW Extra White and a touch of SW Nomadic Desert that we had left over from wall touch-ups. 

Add knobs (we got these from Hobby Lobby for 50% off, so only a $1.99 each)!


Here's the top...


We have a his...

 And a hers...


Now, I have plenty of room for bedside storage and won't have to look at all that clutter.  I love the way they turned out!  I wonder what else I can hack from IKEA? Oh, the money saving possibilities! I heart IKEA...and I just can't leave it alone.


Sep 12, 2011

{Have you ever?}

Have you ever had these?
TLC’s Kashi Dark Chocolate Coconut Layered Granola Bar
Holy moly, these are good!

120 calories
3.5 grams of fat
4 grams of fiber
4 grams of protein

According to the recent article in Real Simple, “33 Low-Calorie Snack Ideas” an optimal snack should consist of about 200 calories, at least 3 grams of fiber, at least 5 grams of protein, and no more than 12 grams of fat. According to Real Simple, these make a pretty good snack (minus a gram of protein)…and much better than a candy bar!

Sep 4, 2011

{Naptime Designs}

I don't have a little girl...but if I did, I would be scooping these up by the piles!  Let me introduce you to Naptime Designs...a homegrown kids clothing company, founded by one of my friends.  Naptime Designs specialize in the cutest dresses, swing tops, and minispinny skirts! These beautiful designs can be worn as dresses, and then as they grow, turned into tops.  I think they are so cute!

Here's her motto about children's clothing and her company...
"Unique children's wear to grow into, not out of!"


You must check her out on facebook...Naptime Designs where she explains the ordering process!

***No one was paid for this blog post.  Naptime Designs did not pay {A Charming Nest} for this review, as it is strictly my opinion of this great product!